Table of contents
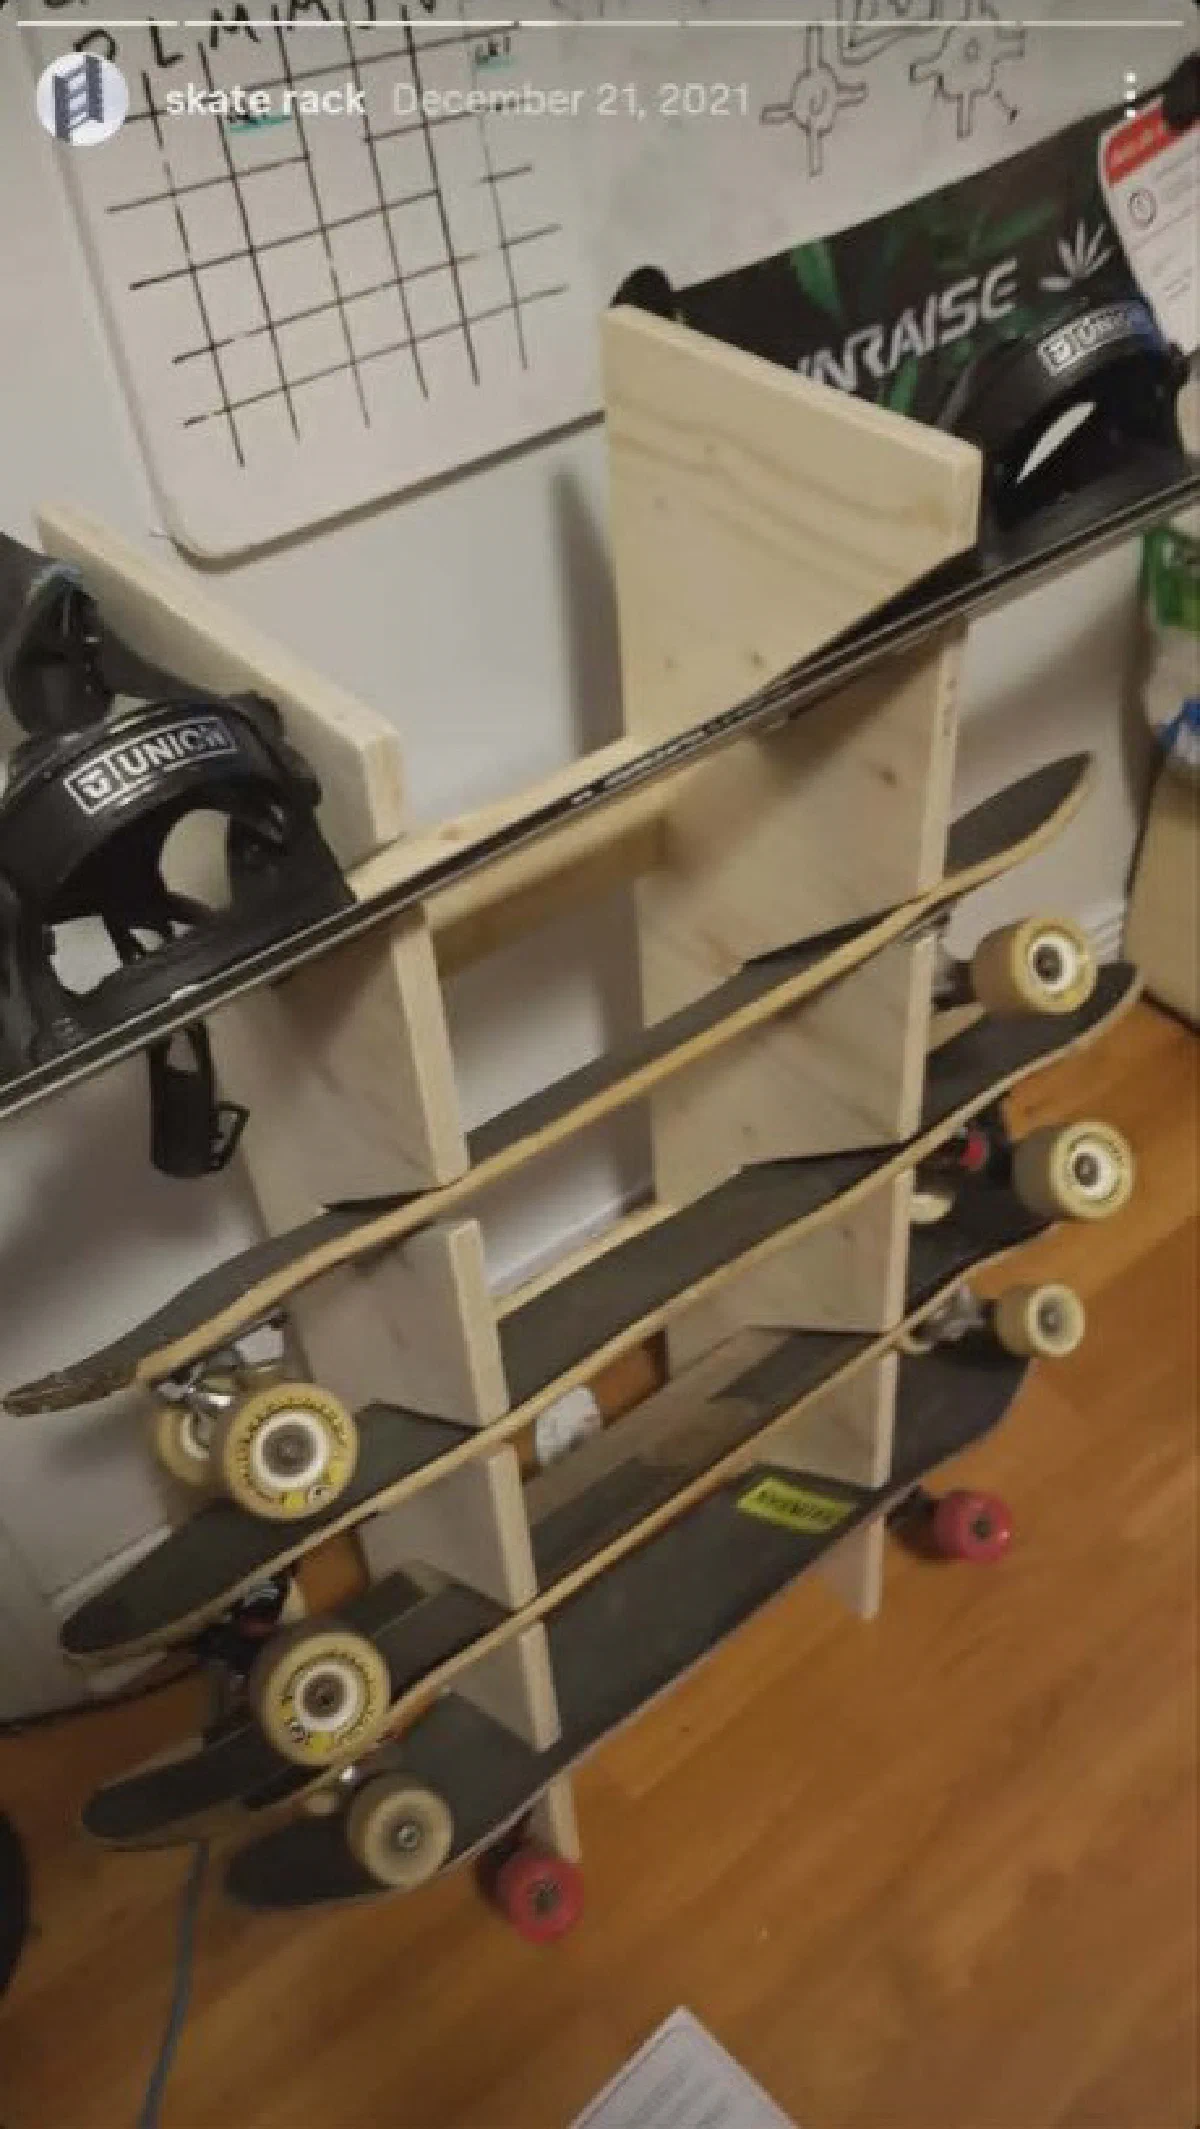
I had boards leaning in every corner, so I designed a vertical rack in CAD, cut angled slots in plywood, and built something that could hold skateboards and a snowboard without drilling into rental walls. December 2021; photos cropped from old stories.
1. Requirements
| Need | Design response |
|---|---|
| 6+ boards | Six slots per side panel |
| Snowboard + skates | Taller top bay, wider slot mouth |
| Rental-friendly | Freestanding lean, no lag bolts |
| Cheap | 3/4" plywood, screws, stain |
2. Design in CAD
Two side panels, three horizontal ties, six downward-angled slots per side so decks slide in and stay put. I modeled in a mainstream mechanical CAD workflow (dimension-driven sketches, assembly check for interference) before buying sheet goods.
Rough intent (not build drawings):
- Panel height ~6 ft — snowboard diagonal fit
- Slot depth ~3/4 deck width — catch without binding on grip
- Slot angle ~15–20° down — gravity holds board; longboards were tight
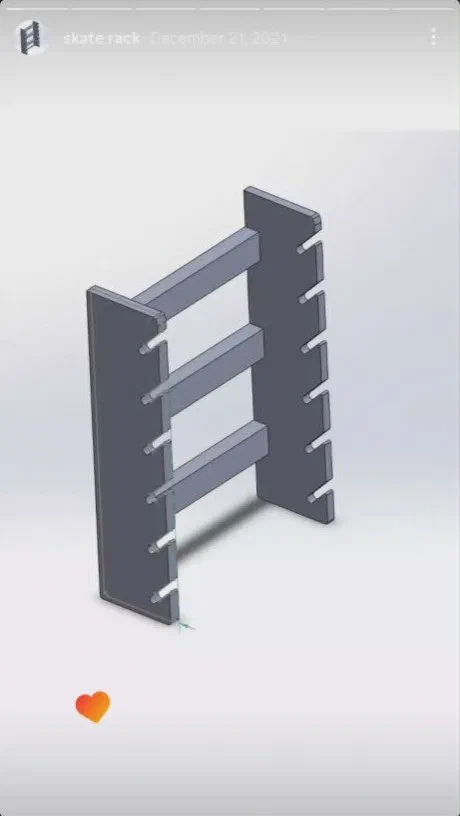
The CAD render is optimistic — no sawdust, no cat, perfect orthogonality.
3. Metal frame detour (shop class energy)
Before the plywood version landed, I welded a tubular orange frame in a school shop — good practice for squareness, honestly overkill for an apartment rack. It never became the final bedroom solution: too heavy, too industrial, and my landlord did not need to know I owned a mini weldment. It still proved the layout — upright posts plus cross-members, slots implied by spacing even before I cut wood.
That prototype was the confidence boost; the rack I actually live with came later from sheet goods, not tube stock.
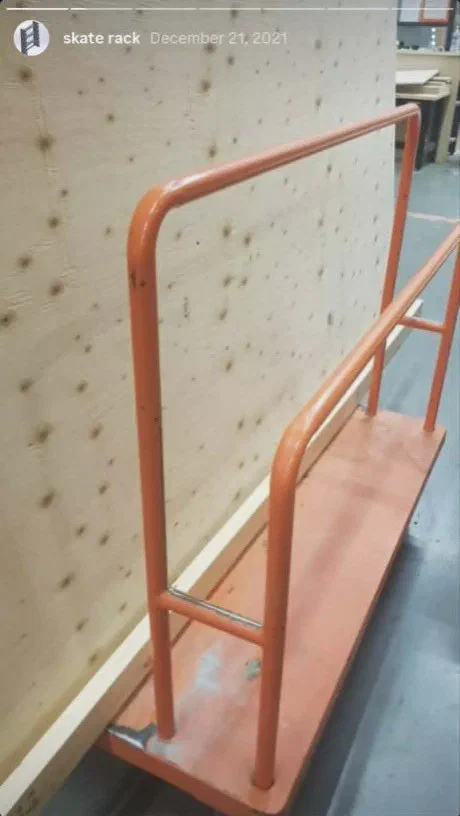
The photo is pure shop-class energy: fluorescent lights, concrete floor, and a frame that taught me the geometry without surviving the move indoors.
4. Materials — Home Depot run
Once the metal idea stayed in the garage, I went to Home Depot for buildable material: one cart of 3/4" plywood (two side panels and shelves), wood screws, stain, and scrap 2×4 for a temporary stand while I dry-fit. No exotic lumber — whatever was flat enough that day.
- 3/4" plywood — two sides + horizontal ties
- Wood screws — pre-drill near ends so the ply does not split
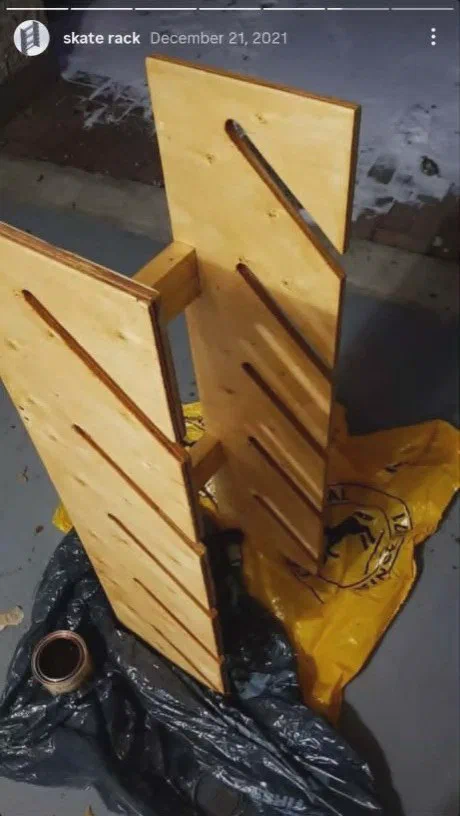
- Stain — brushed on a tarp in a cold December garage
- 2×4 scrap — propped the frame while slots were still rough
5. Cutting slots
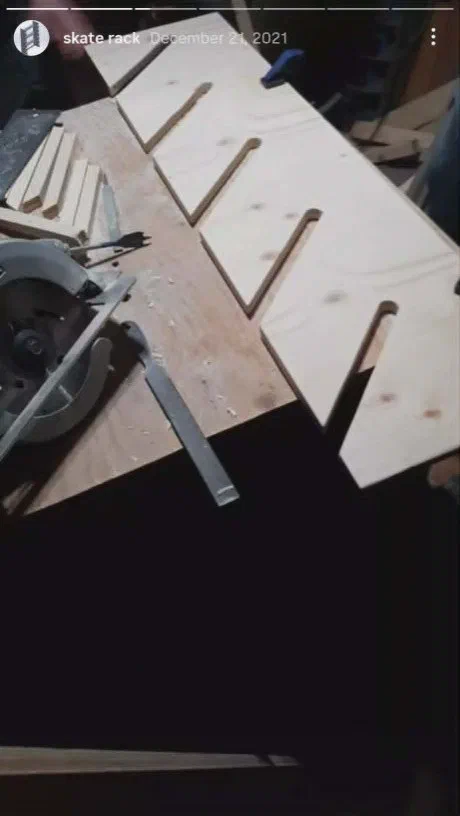
Diagonal notch with rounded bottom: spade bit at end, circular saw on straights, file burrs. Clamps, dust, repeat.
6. Assembly and inspection
Dry-fit, stain in cold December garage, cat QA on every flat surface.

7. Finished rack
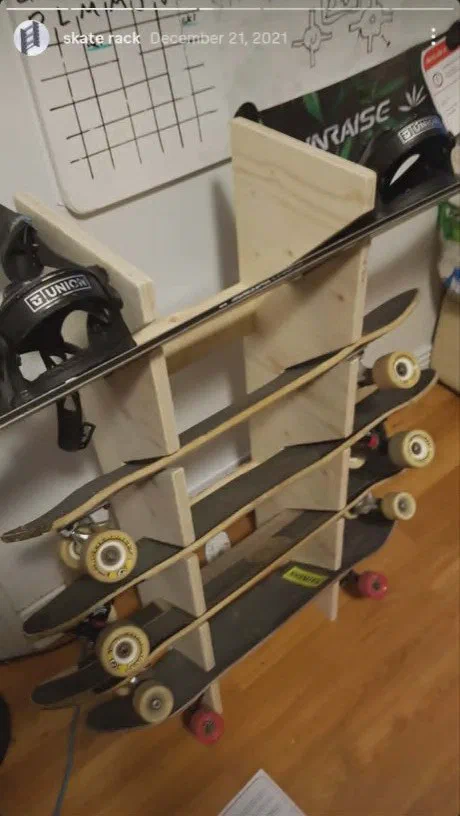
Snowboard on top (Union bindings), skates in slots, spare on floor.
8. Next time
- Steeper slot angle for longboards
- Edge banding on slot mouths
- French cleat wall mount when not renting
9. Related posts
- LiDAR apartment scan with Rhino — measure before you build
- Home networking lab — another home project thread
- AI figurines / 3D print — CAD → object years later