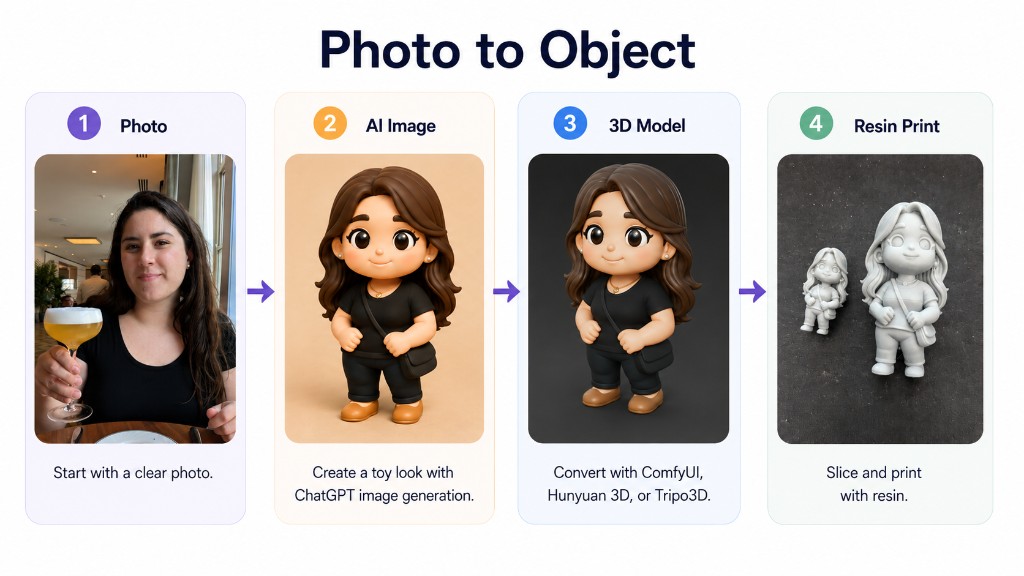
Good 2D toy art beats a fancy image-to-3D model. This post walks the steps in order, links a slide deck, a ComfyUI workflow, and how I sketch the flow with uml-mcp.
Pipeline (in order)
- Reference photo — clear side or front view.
- Chibi vinyl render — ChatGPT, Midjourney, or ComfyUI (OmniGen2).
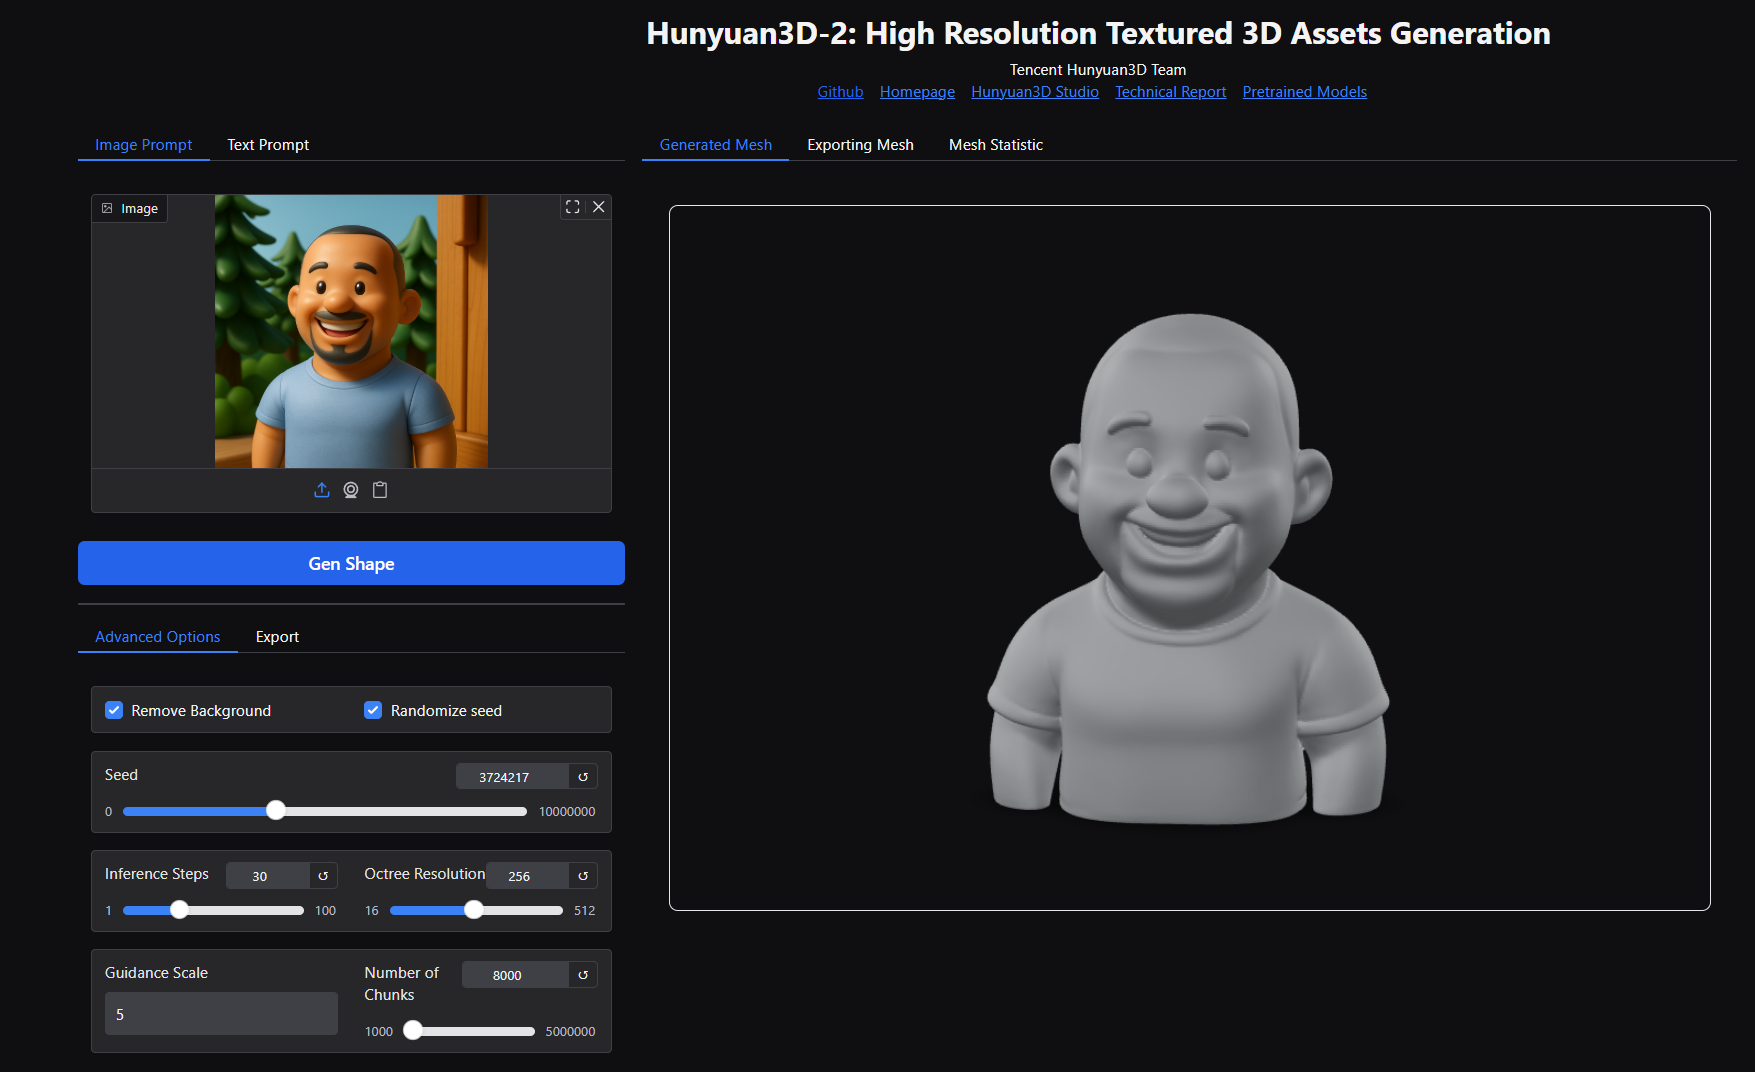
- Mesh — Hunyuan3D v2 (local ComfyUI or hosted tools).
- Print — orient, supports, resin slice; fix islands with UVtools if needed.
Pipeline sequence (source: figurine-pipeline-sequence.mmd, rendered with uml-mcp):

sequenceDiagram
    autonumber
    actor User
    participant Photo as Reference photo
    participant ComfyUI
    participant OmniGen2 as OmniGen2 stage
    participant Hunyuan3D as Hunyuan3D v2 stage
    participant Slicer as Resin slicer
    participant Printer

    User->>Photo: Side or front reference
    User->>ComfyUI: Load chibi workflow + reference-photo.jpg
    ComfyUI->>OmniGen2: ReferenceLatent + chibi vinyl prompt
    OmniGen2-->>ComfyUI: PNG (white background)
    ComfyUI->>Hunyuan3D: CLIPVision + image-to-mesh
    Hunyuan3D-->>ComfyUI: GLB (VoxelToMesh 0.7 / 0.6)
    ComfyUI-->>User: mesh/ComfyUI*.glb
    User->>Slicer: Orient, supports, hollow
    Slicer-->>User: Sliced job
    User->>Printer: Resin print
    Printer-->>User: Chibi figurine
Deck (~17 MB) — screenshots and tool URLs from the talk:

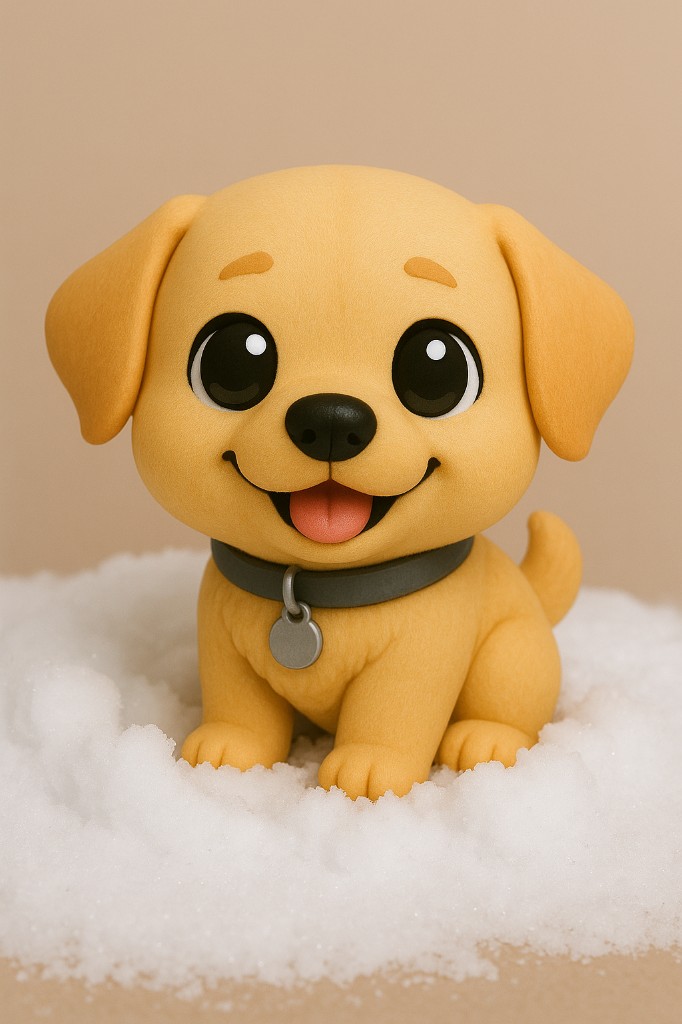
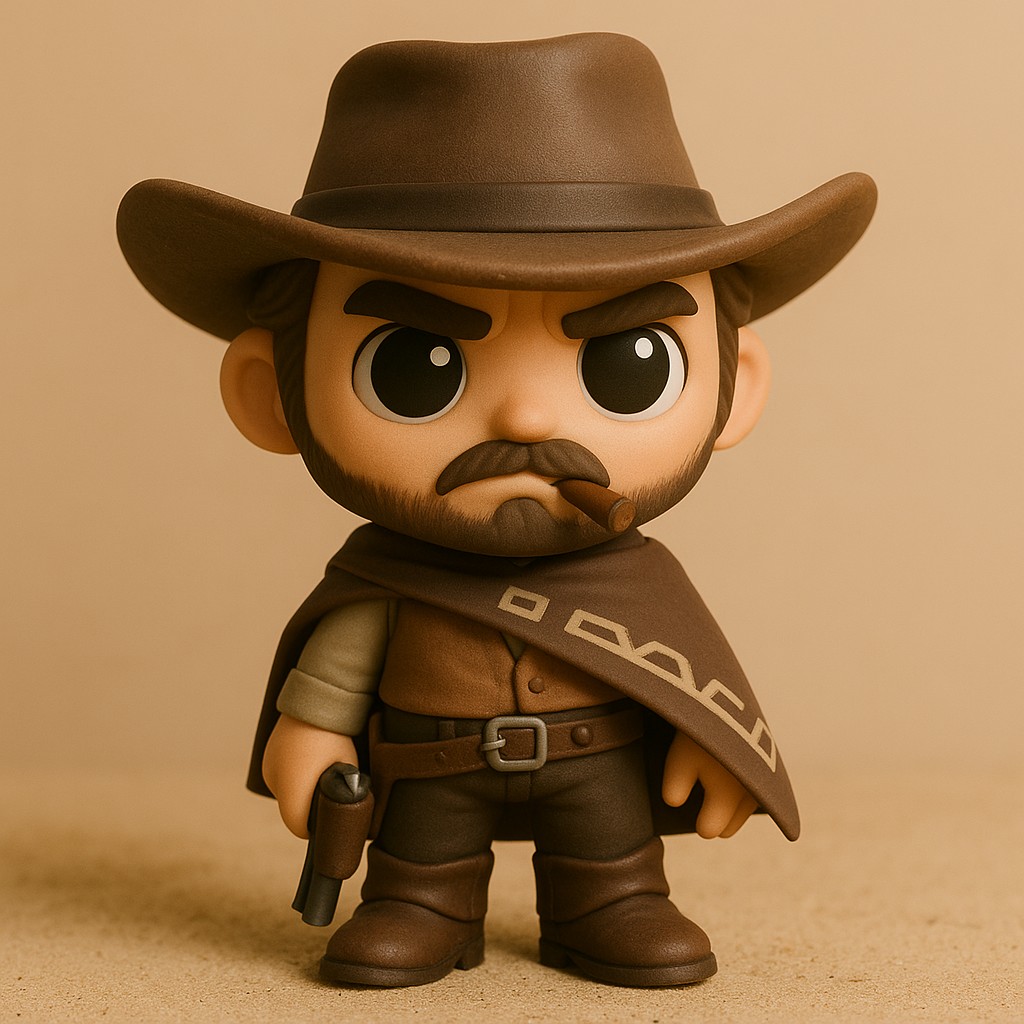
Step 1 — 2D toy / chibi

Deck prompt:
Convert this image into a toy-style plastic figure. Keep features but simplify and smoothen as if molded in plastic.
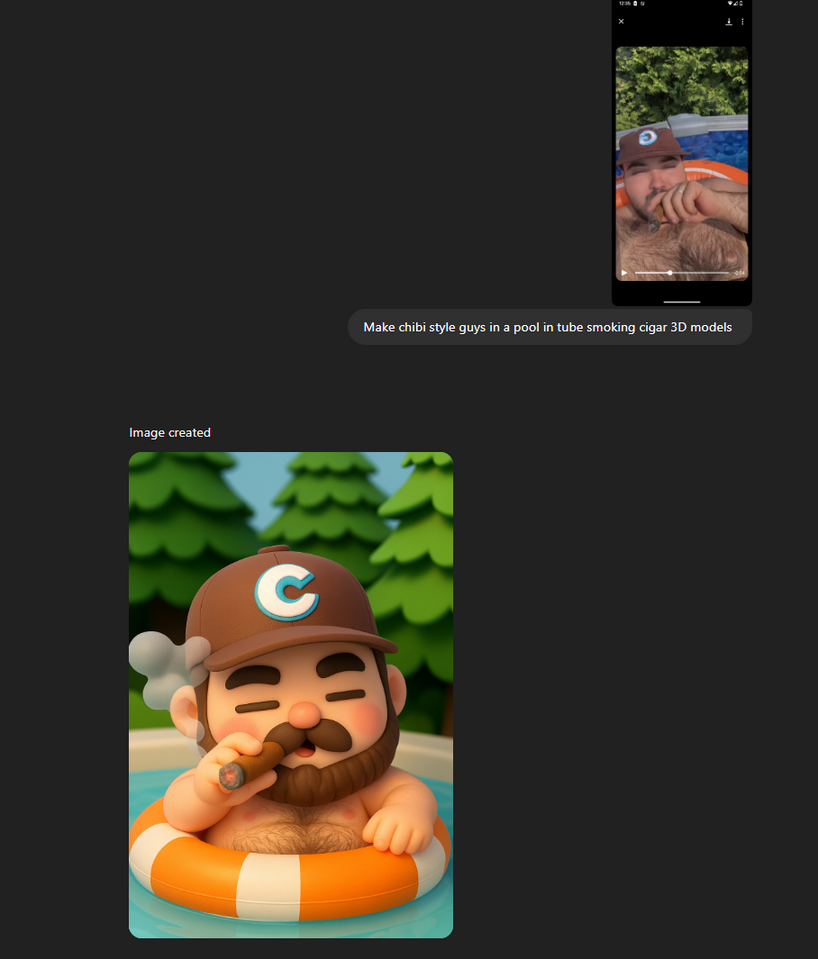
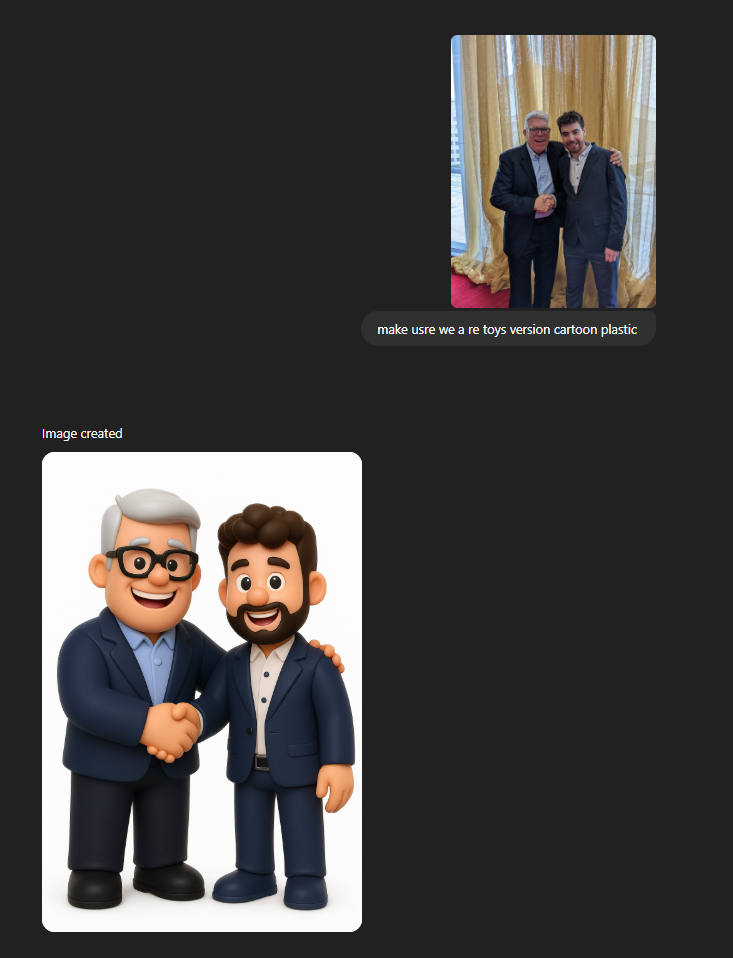
Chibi prompt (same idea, bigger head):
Vinyl chibi figurine, smooth plastic, white background, one character, pose that can stand on a base.
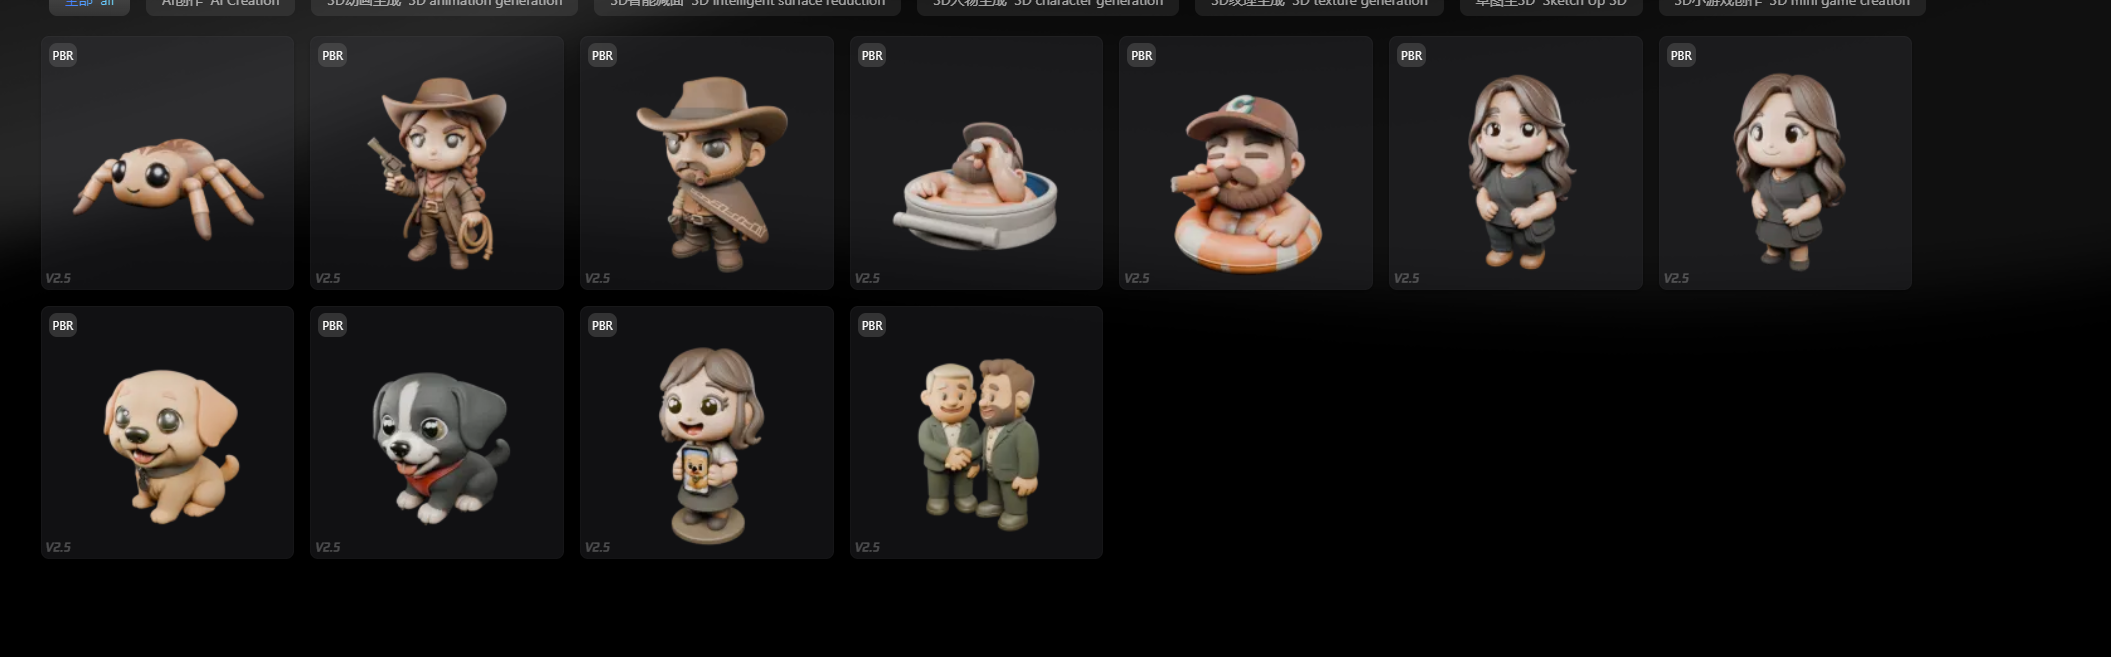
Gallery (ChatGPT):


Document the flow — uml-mcp
The sequence diagram above was generated with uml-mcp (generate_uml, type mermaid) and saved as figurine-pipeline-sequence.mmd + SVG in this page bundle.

In Cursor: enable the uml-mcp server (repo README), then call generate_uml with the .mmd source or ask for a sequence diagram of the ComfyUI → print steps. Same idea as ChatGPT sequence diagrams.
Step 2 — ComfyUI (one graph)
Download: image_omnigen2_image_edit.json — Load in ComfyUI (OmniGen2 chibi edit + Hunyuan3D v2 mesh). Put your photo in input/ as reference-photo.jpg (or edit the LoadImage node).
| Stage | What it does |
|---|---|
| A | OmniGen2 + ReferenceLatent → chibi PNG (heun, 45 steps) |
| B | Hunyuan3D v2 → two GLBs (mesh/ComfyUI*.glb, thresholds 0.7 and 0.6) |
Full positive/negative prompts and seeds are in the JSON. Needs OmniGen2 + Hunyuan3D-2 custom nodes (Hunyuan3D-2). On 8–12 GB VRAM, lower octree_resolution or num_chunks.
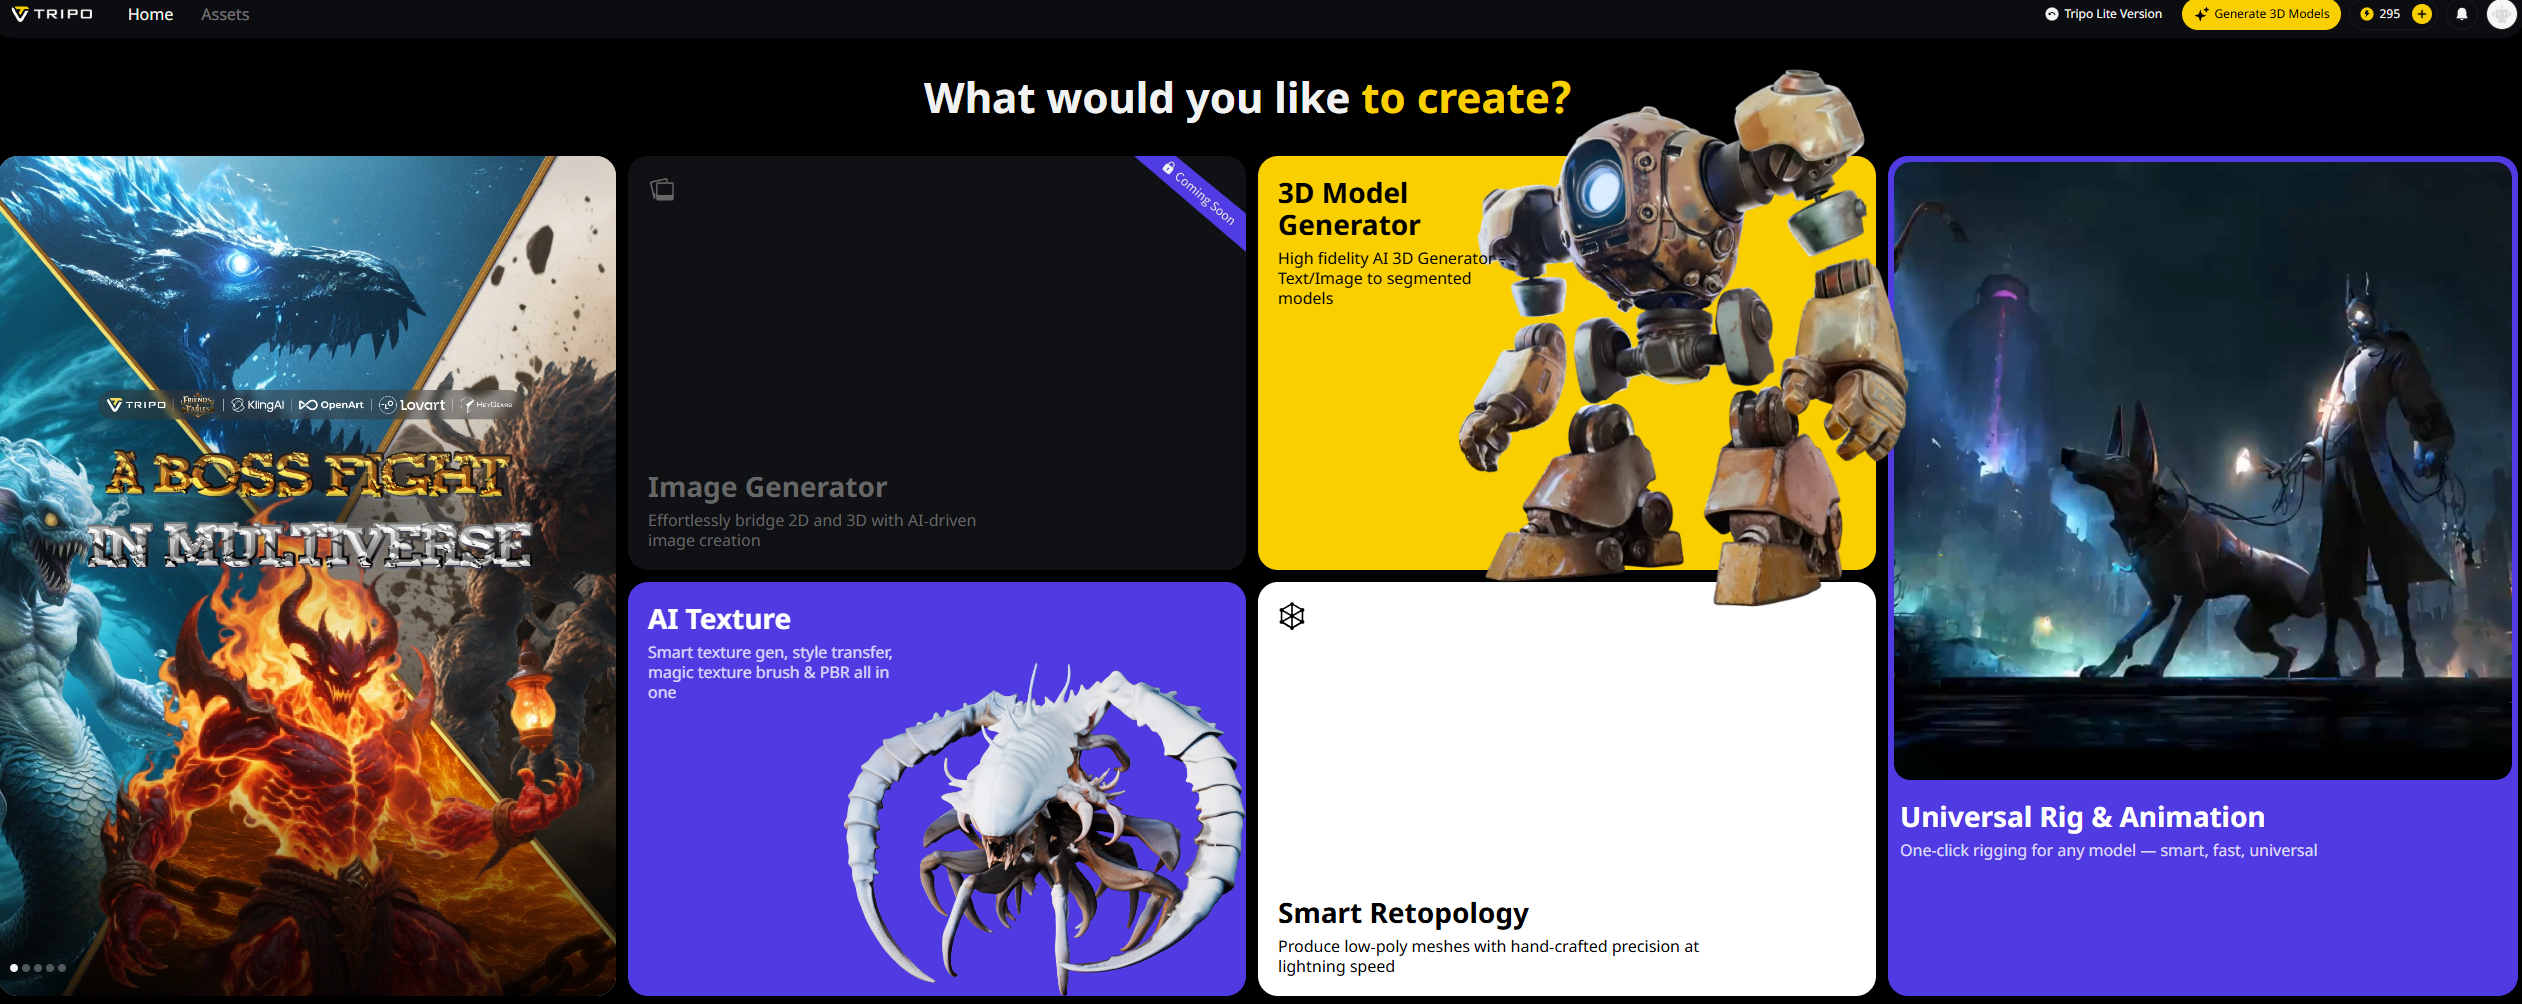
Step 3 — Image to 3D (hosted)
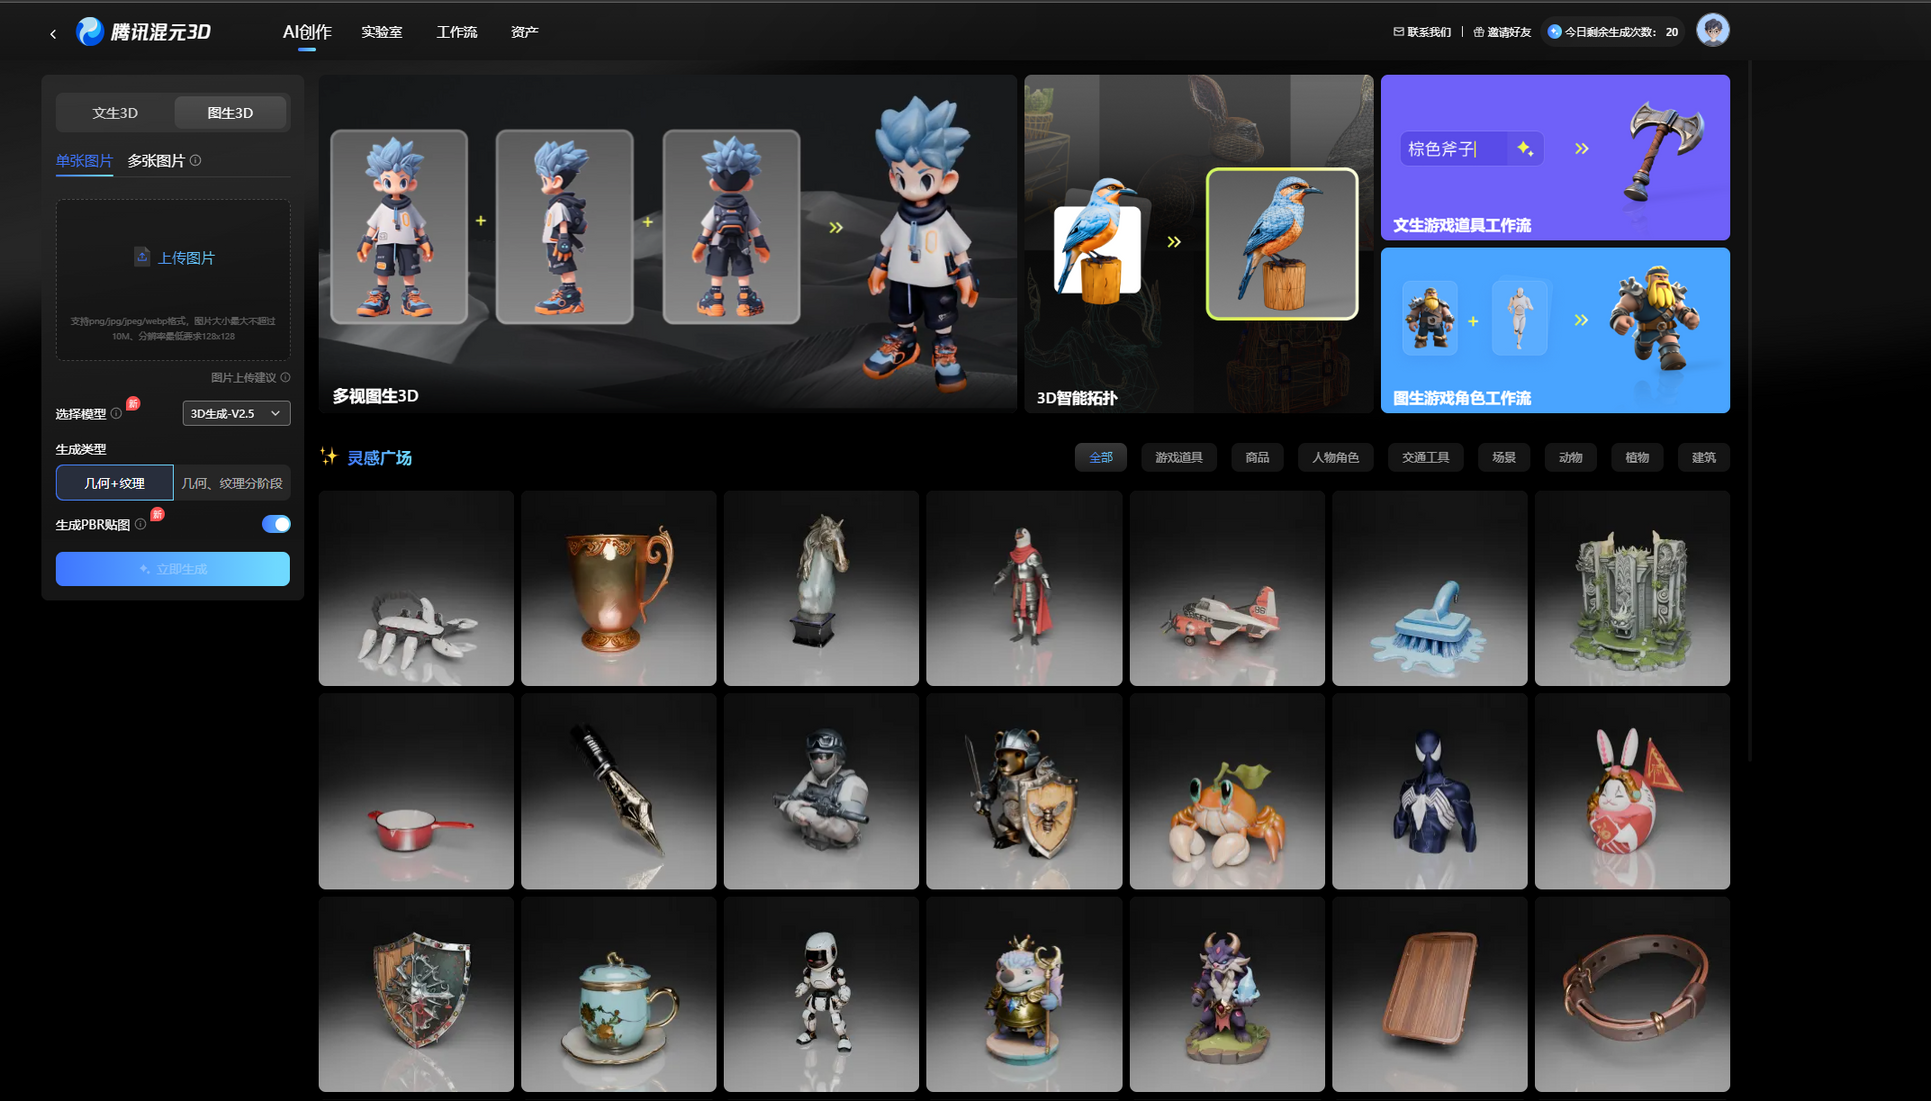
Single-image mesh tools — clarity of the toy PNG matters more than the brand.
| Tool | Link | Notes |
|---|---|---|
| Hunyuan3D-2 | GitHub | Open weights / local or hosted runs; strong general image-to-3D. |
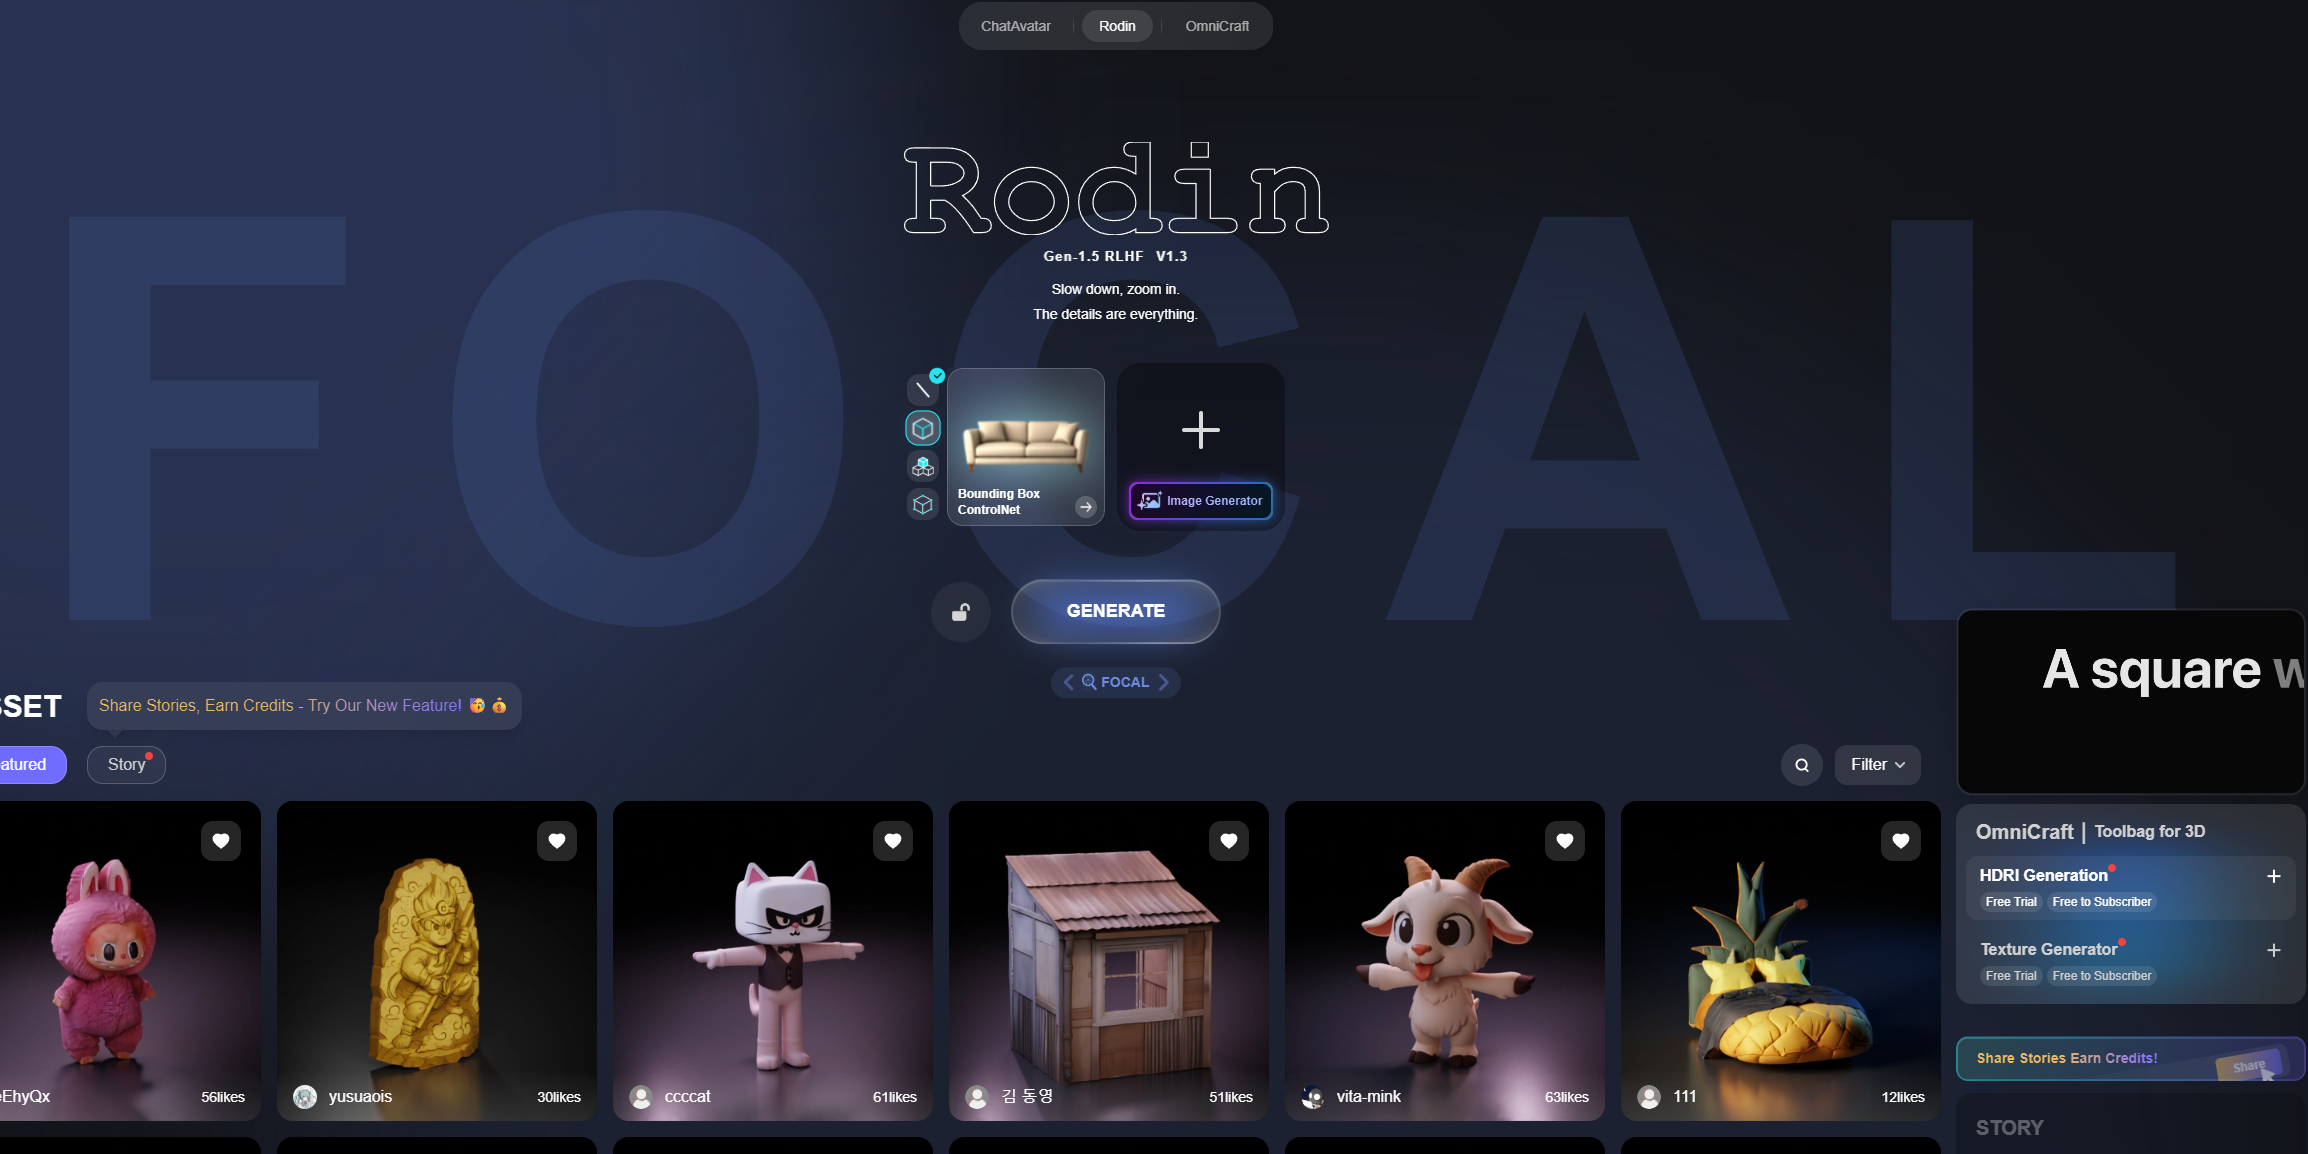
| RodinHD | WebGL demo | High-detail avatars and figurines from images. |
| Hi3DGen | Hugging Face demo | 2D diffusion prior + geometry consistency (CHI 2024 paper, white paper PDF). |
| Hyper3D | hyper3d.ai | Fast commercial image-to-3D. |
| Meshy | meshy.ai | Text/image to 3D with editing and remeshing. |
| Tripo3D | studio.tripo3d.ai | Browser studio workflow. |
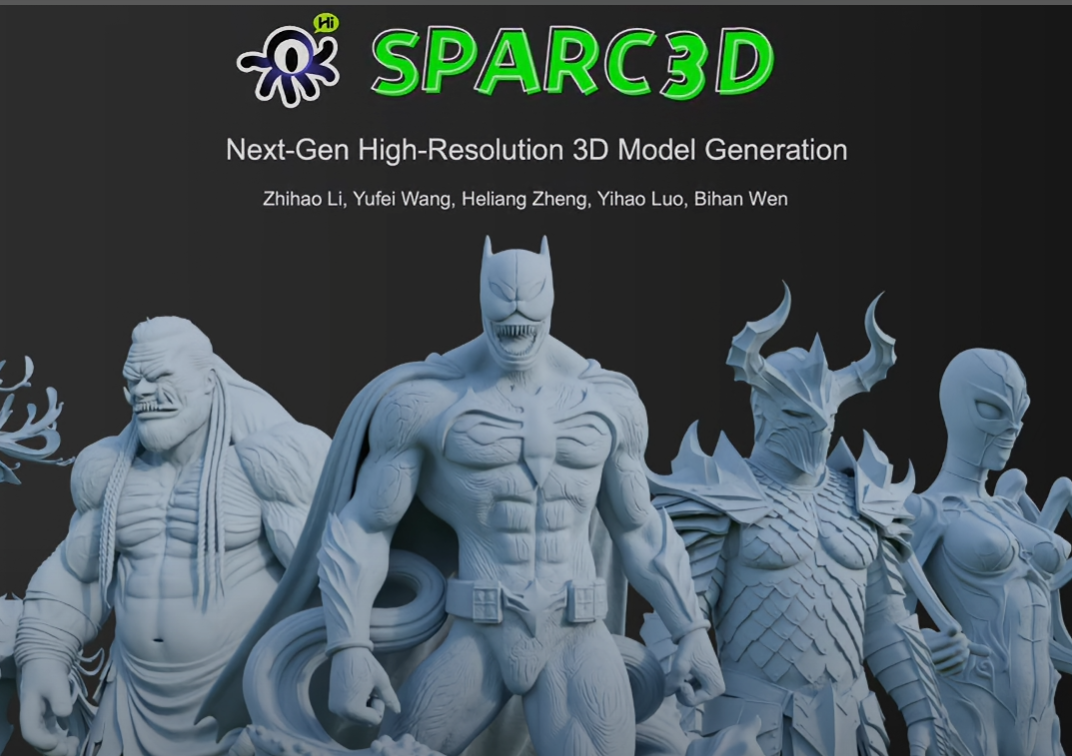
| Sparc3D | lizhihao6.github.io/Sparc3D | Structured sparse-view reconstruction. |
Hi3DGen (CHI 2024, demo) — strong when the 2D silhouette is already clean.
Mesh preview
Sample GLB files from Hunyuan3D, RodinHD, Hyper3D, and Hi3DGen are not stored in this repo (each was 20–75 MB). Use the generator previews in the tool UIs, or export from your own ComfyUI run (mesh/ComfyUI*.glb).
Step 4 — Mesh settings


Tune face count, symmetry, and remesh in the generator UI before export.
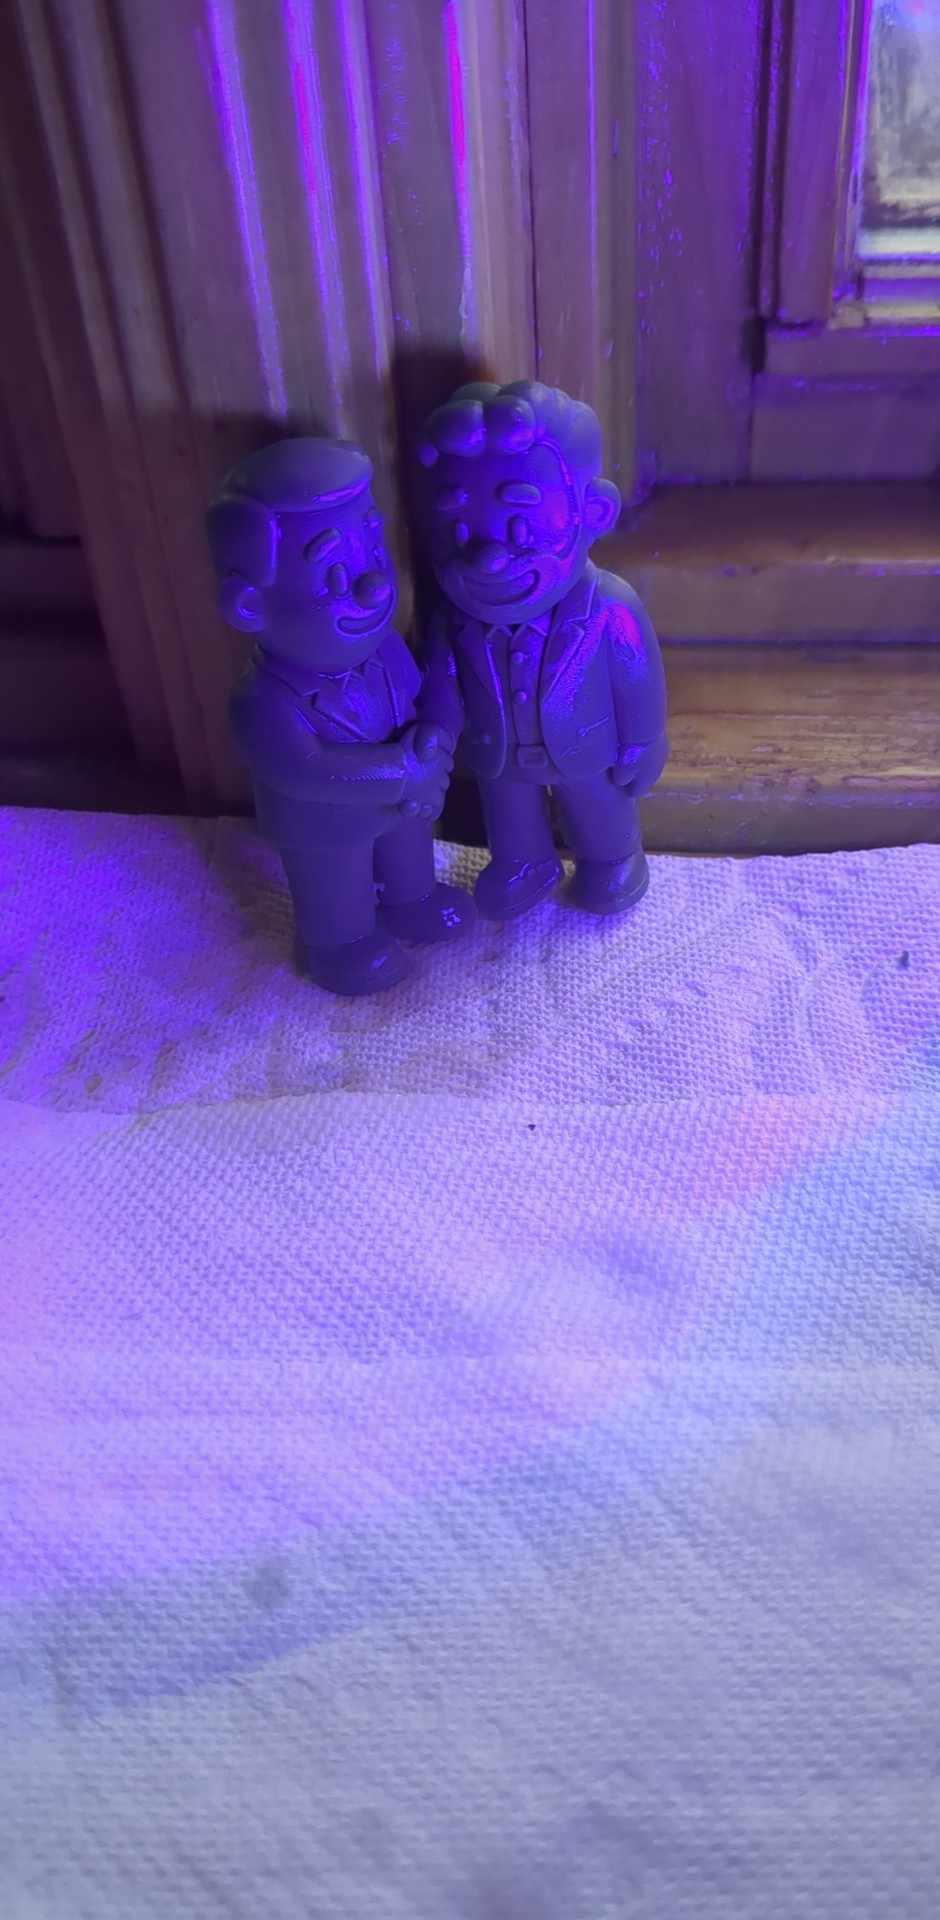
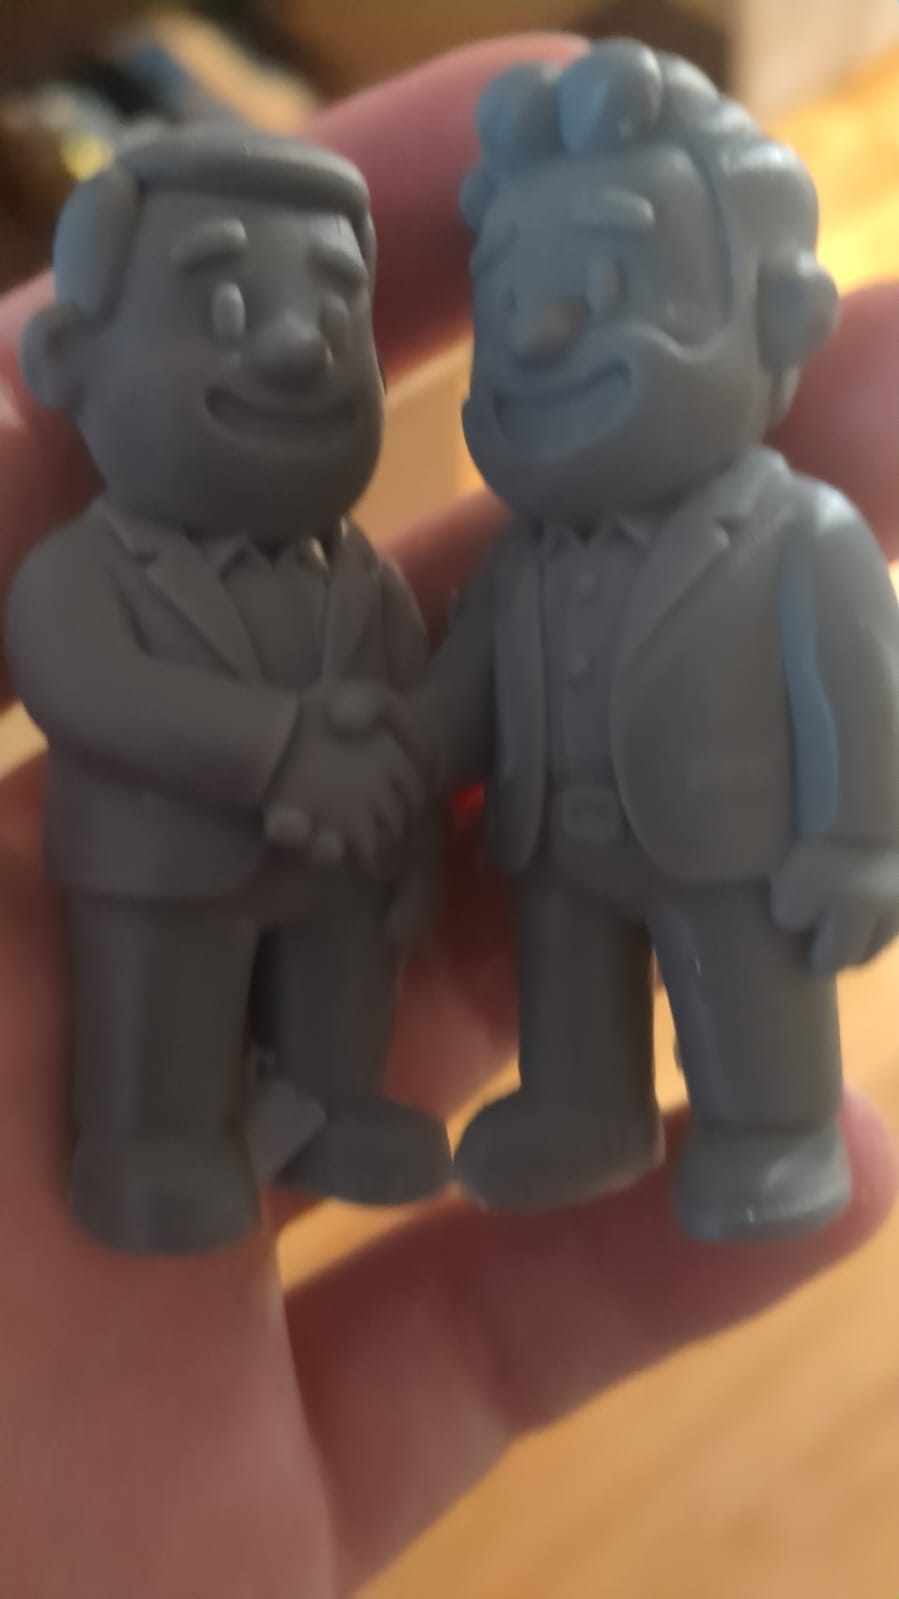
Step 5 — Resin print
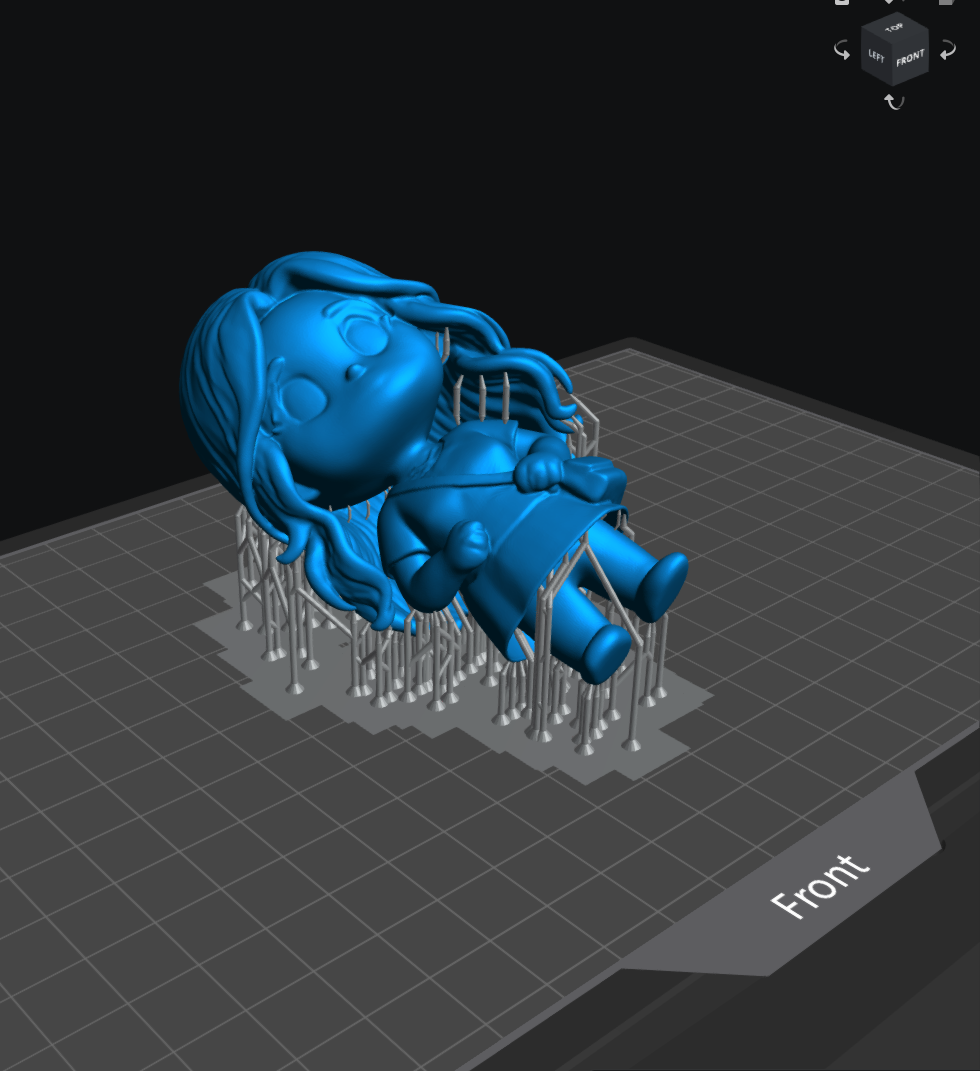
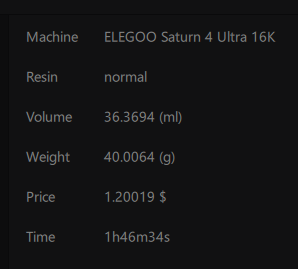
Resin for small parts. Tilt overhangs toward the plate; light supports on hair and capes.
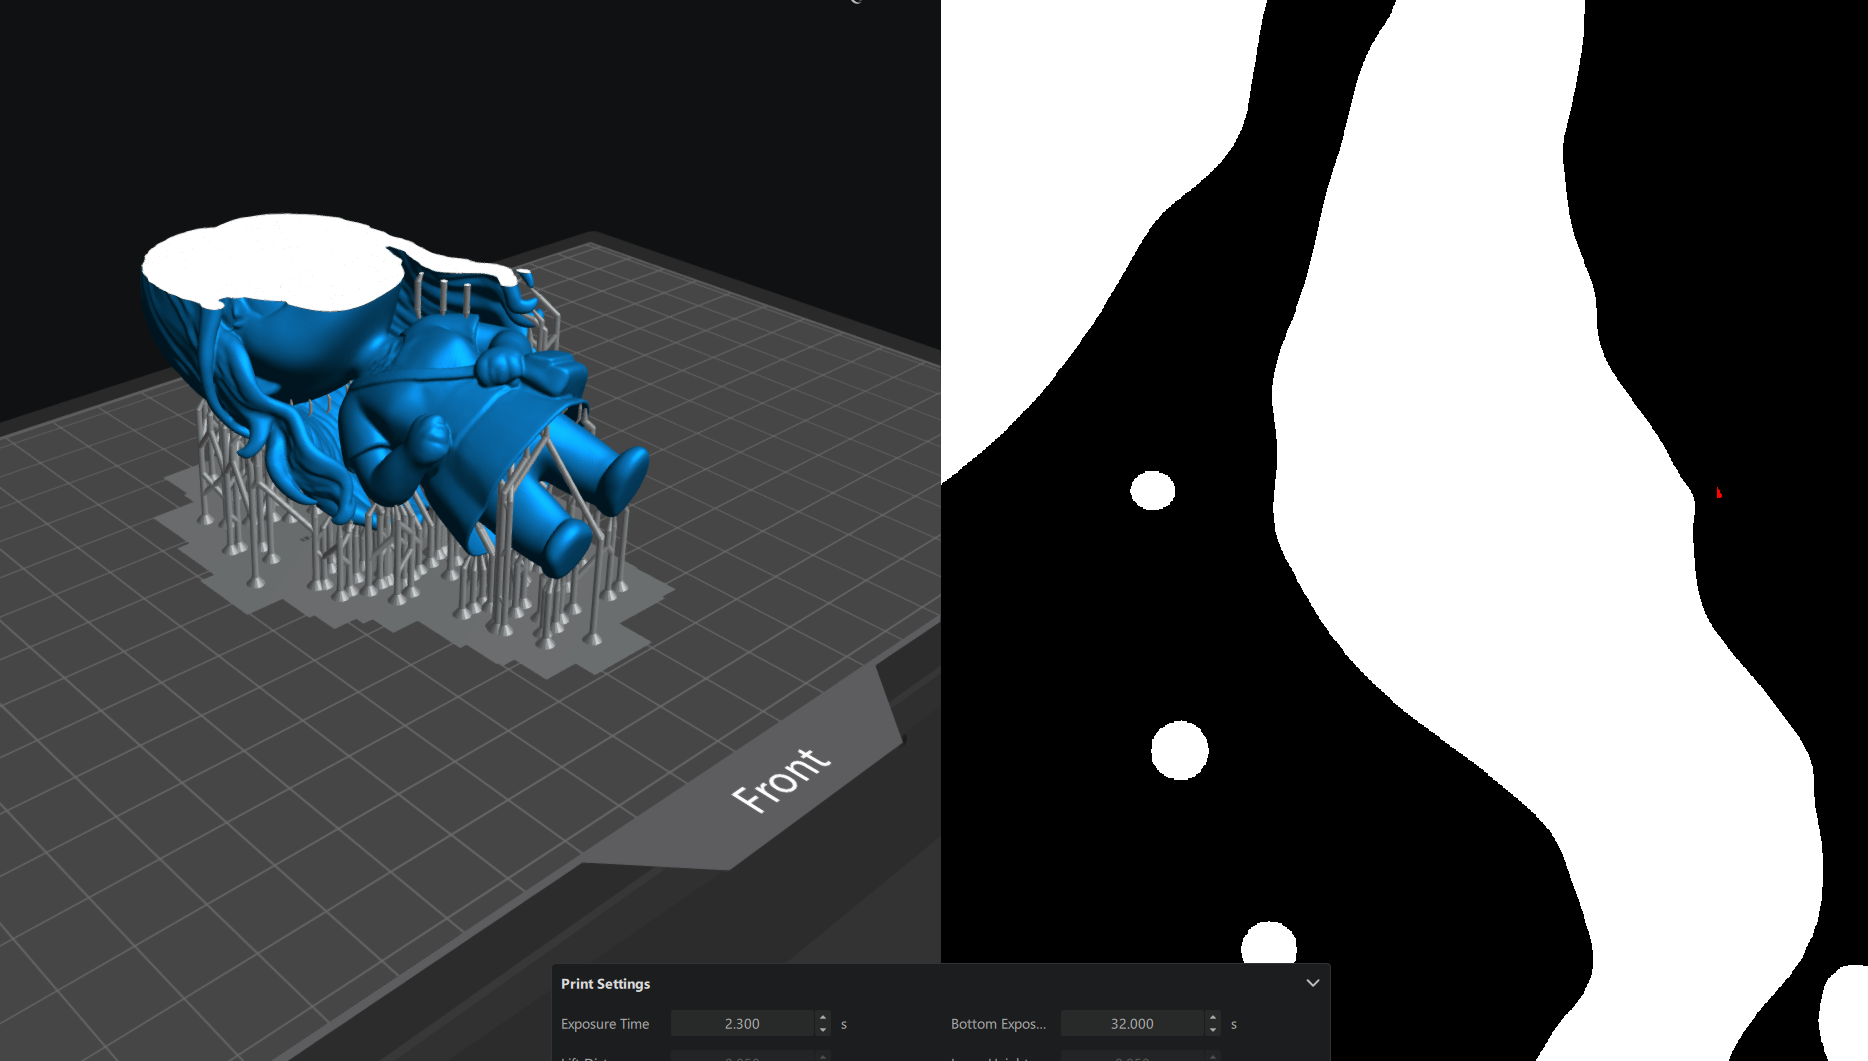
Check floating islands with the slicer or UVtools before printing.
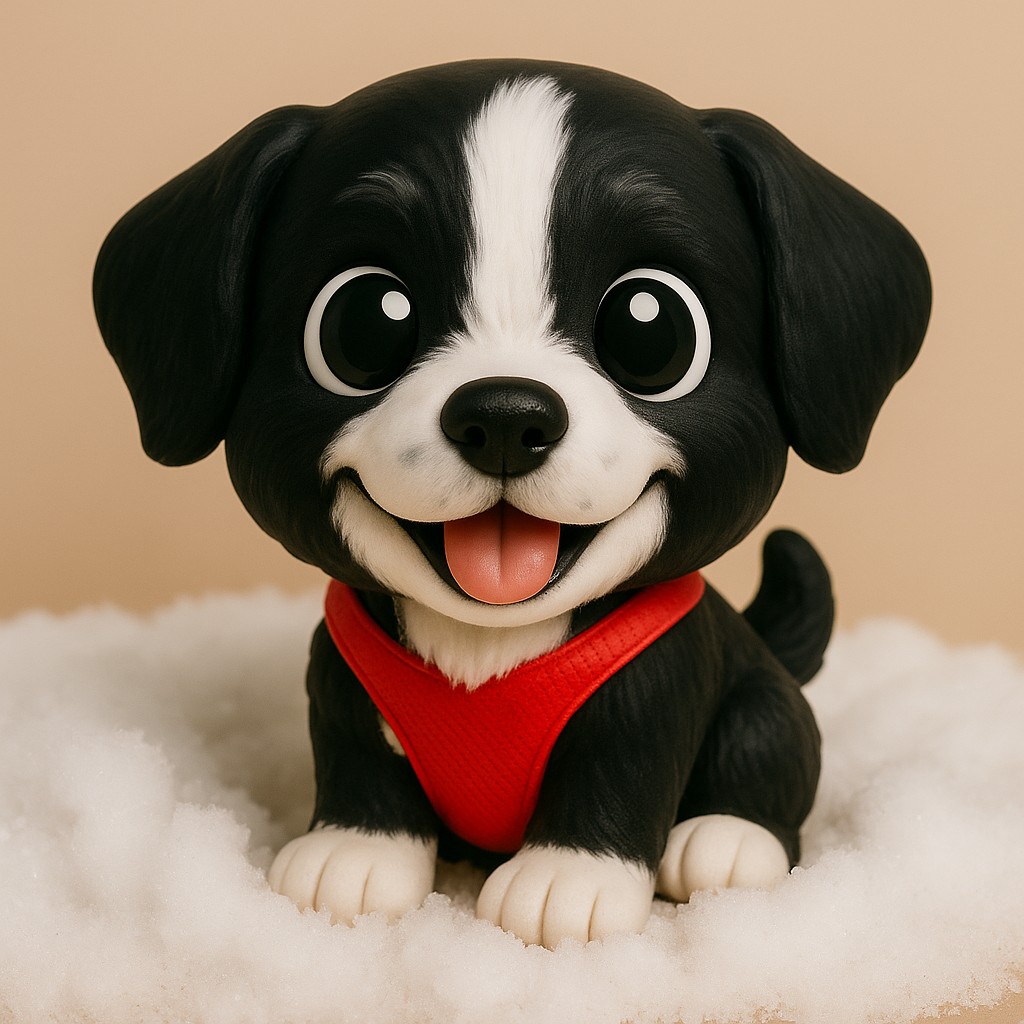
Printed results
When to use this pipeline
| Goal | Start here |
|---|---|
| Gift figurine from a pet photo | ChatGPT/Midjourney chibi → hosted mesh |
| Repeatable local batch | ComfyUI JSON in this bundle |
| Teaching a class | Deck + uml-mcp sequence diagram |
| Production CAD interchange | Expect cleanup in Blender after GLB |
Pitfalls
- Skipping 2D quality — mesh tools amplify bad silhouettes.
- Committing 50 MB GLBs — export locally; link tools instead.
- Zero island check — resin failures mid-print waste hours.
Related posts
References
- Gao, Y., He, J., Liu, Z., Xie, Y., Zhang, J., Deng, Z., … & Li, Y. (2024). Hi3DGen: High-quality text-to-3D generation with 2D diffusion prior and geometry consistency. Proceedings of the 2024 CHI Conference on Human Factors in Computing Systems. https://doi.org/10.1145/3641520.3665304
- Stable-X. (2024). Hi3DGen: High-quality text-to-3D generation with 2D diffusion prior and geometry consistency [White paper]. https://stable-x.github.io/Hi3DGen/hi3dgen_paper.pdf
- Tencent Hunyuan. (2024). Hunyuan3D-2 [Computer software]. GitHub. https://github.com/Tencent-Hunyuan/Hunyuan3D-2
- Stable-X. (n.d.). Hi3DGen demo [Interactive tool]. Hugging Face Spaces. https://huggingface.co/spaces/Stable-X/Hi3DGen
- Hyper3D. (n.d.). Hyper3D [Website]. https://hyper3d.ai/
- RodinHD. (n.d.). RodinHD demo [WebGL demo]. https://rodinhd.github.io/
- Meshy. (n.d.). Meshy AI [3D content creation platform]. https://www.meshy.ai/
- YouTube. (2024, March). Hi3DGen: High-quality text-to-3D generation (demo video) [Video]. https://www.youtube.com/watch?v=243Dpi8DKVM